
How to take good cake photos
The bakeries that sell the best online always have great product images. Customers buy with their eyes - and this is especially true for cakes. Cakes are an emotional product that is used when celebrating something, and they look for something that gives them a good feeling. A good image can mean the difference between a sale and the customer going somewhere else.
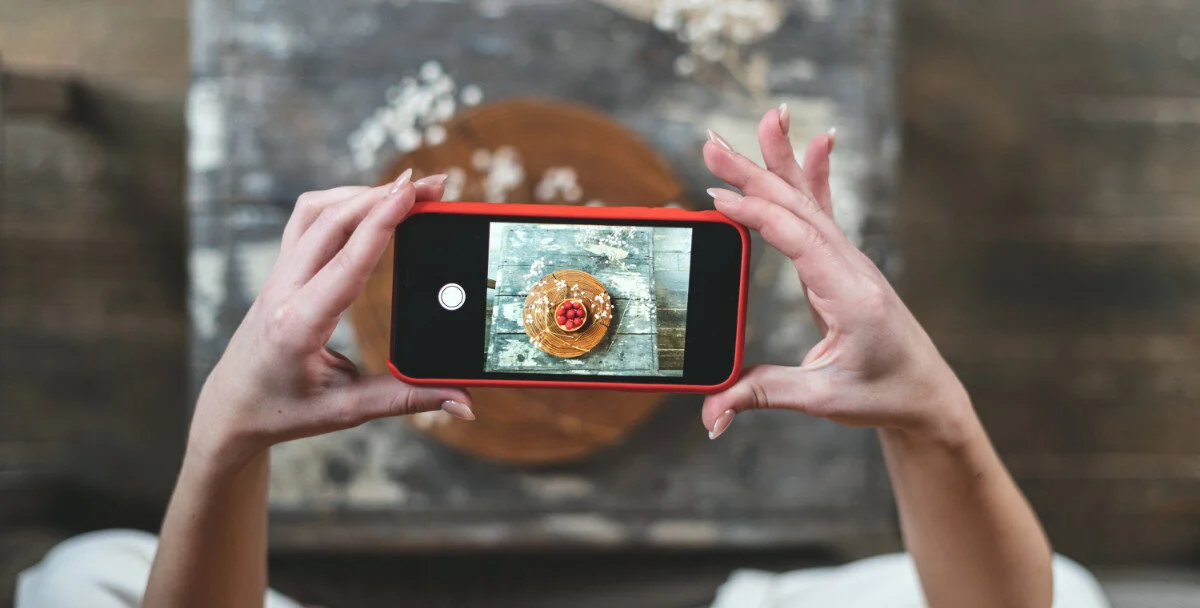
Nowadays, you don't necessarily need to hire a professional photographer or buy expensive camera equipment to get great cake photos. The camera on new smartphones is more than good enough and with a few simple steps, you can take very good photos on your own.
Which cakes should you prioritize?
To get the most similar photos possible, we recommend taking photos of all the cakes at the same time. If this is difficult to do, it is a good idea to take the most popular cakes first , then special occasion cakes such as confirmation cakes and christening cakes, and the rest of the cakes sequentially afterwards.
If you are going to take photos of the cake at different times, it is important to find a fixed location to take the photos so that the photos have the same light and the same background to create a holistic impression.
Presentation
When taking product photos, we recommend spending a little extra time on the cake. Make sure the marzipan or cream layer is as even as possible, and that the cake is decorated elegantly and aesthetically. It is important that the cakes are not decorated differently than what is standard, so that customers are not disappointed when they receive the cakes.
Layout and background
Setup: Place the cake on a plate or cake stand. The stand will give the cake height, making it easier to take photos of the cake at an angle. Avoid too many decorations or other objects in the photo. Remember that “less is more”.
Choose the right surface : A white or light-colored tablecloth is always safe and will highlight the cakes well, as well as giving the image extra depth. If you want to go for a more rustic and homemade feel, you can try a wooden table without a tablecloth.
Choose the right background : The background should be neutral and out of focus so that the cake is the point of attention. If you have a light colored wall or a nice tabletop, these can also be great backdrops for your cakes.
Light
The most important factor for a good photo is the light. All cake photos should therefore be taken in natural daylight and preferably near a window.
If the cake is in direct sunlight in front of a window, we suggest that the window is covered with a white curtain so that the light is filtered. If this is not possible, make sure that the cake is not backlit as this creates a dark silhouette around the cake. However, it is best to take photos on a cloudy day. This will create a naturally soft and diffused light.
If it is not possible to take the photos in natural daylight, it is important to illuminate the cakes with light from lamps, but remember not to shine the light directly on the cake.
NOTE: Avoid using flash. Photos taken with flash often end up being overexposed and the cakes become pale or disappear a bit.
Format
For regular cakes, we recommend taking photos in horizontal format (landscape) with plenty of air around the cake so that it is easier to crop and edit the image later. For tall cakes, we recommend vertical format (see examples below).
Angle
It's a good idea to take photos of the cake from different angles. If you have the opportunity, cut a piece of the cake and take a photo of what it looks like inside. This helps customers understand how the cake tastes, and thus increases the likelihood that they will order.
We recommend taking pictures of the cake from three different angles:
Oblique from the side and from above (to see the whole cake)
Directly from above (to see the top of the cake and the decorations in more detail)
Cut into (to see the filling of the cake)
Example 1 - Oblique from the side and from above (to see the whole of the cake)
Example 2 - Directly from above (to see the top of the cake and the decorations in more detail)
Example 3 - Cut into (to see the filling of the cake)
Tall cakes
Tall cakes can be a bit more difficult to photograph. To still capture the details of the cake, we recommend taking the photo in a vertical format . This allows you to take the photo a little more directly, although an angled view from above also works well.
Below are two examples.
Example 4 - On tall cakes, the same angle applies as for regular cakes - diagonally from the side and from above (to see the whole of the cake)
Example 4 - Wreath cakes can be photographed directly from the side.
Finishing the cake images
It can do a lot with the images afterwards to significantly improve the quality. If you know how to do this yourself, that's great, but if we need help, just send the images to Cake it easy and we'll fix them for you .
Summary
These were some simple guidelines for how to get good photos of the cakes. The key to taking good cake photos is delicate lighting, clean, out-of-focus backgrounds, and good angles that highlight the good sides of the cake. Good luck!